Server Configuration
Now that Theopenem is installed. It needs to be configured if you would actually like to use it for something.
Caution
Each step below must be completed and in this order unless "optional" is specified next to it.
1. Login To Toems
- Toems should be accessible from any device on your network by entering the server's ip or FQDN in your web browser.
- Ex: http://192.168.56.100 or http://myserver.mydomain
Tip
Default Username: toemsadmin
Default Password: toemsadmin
2. Change Admin Password
Warning
(This must be done first or some functions of Theopenem will not work)
- Select Users from the Navigation Menu
- Select View on toemsadmin
- Update the User Password and Confirm Password fields
- Select Actions then Update User
- Click Logout from the Navigation Menu
- Log in with the new password
3. Set Organization Name
- Select Admin Settings from the Navigation menu
- Select Server from the Sub Navigation menu
- Fill in the name of your organization in the Organization field
- Click Actions click Update Server Settings
4. Set the Storage Location
- Select Admin Settings from the Navigation Menu
- Select Storage Location from the Sub Navigation Menu
- Set the Storage Type to Local
- Enter the local storage path that you specified during the installation of Theopenem.
- Click Actions, click Update Storage Settings
5. Set Provision Key And Imaging Token
- Select Admin Settings from the Navigation menu
- Select Security from the Sub Navigation menu
- Click Actions, Click Generate Provision Key
- Click Actions, Click Generate Imaging Token
- Click Actions, Click Update Security Settings
6. Generate Certificates
- Select Admin Settings from the Navigation Menu
- Select Certificates from the Sub Navigation Menu
- Click Actions, click Generate Certificates
7. Setup SMTP Server (Optional, but recommended)
- Select E-mail from the Sub Navigation menu
- Enable the Mail Enabled option
- Fill out the form with you SMTP server settings
- Click Actions, click Update E-mail Settings
8. LDAP Setup (Optional, but recommended)
- Select Admin Settings from the Navigation menu
- Select Security from Sub Navigation menu
- Enable LDAP Integration
- Click Actions, click Update Security Settings
- Select Admin Settings from the Navigation menu
- Select LDAP from the Sub Navigation menu
- Fill in the form with your LDAP specifications
- Click Actions, click Update LDAP settings
- Click Actions, Test AD Bind, to verify settings are correct
9. Update Toems-UI Web.config
- In Windows File Explorer, navigate to
C:\Program Files\Theopenem\Toems-UI - Right click on Web.config, select Edit With Notepad++
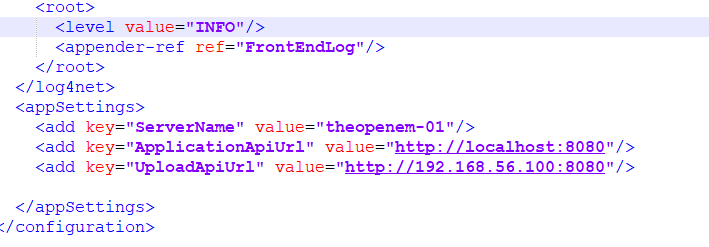
- Scroll to the bottom of the file to find the <appSettings> section
- Change the value for ServerName to anything you want to identify this server. When multiple servers are used, this is displayed in the UI to show which server you are connected to.
- Leave the value for ApplicationApiUrl alone. This value is always relative to your Toems-UI server. If you installed the Toems-API and Toems-UI on
the same server the value should always be
http://localhost:8080. This value tells the Toems-UI(frontend) where to find the Toems-API(backend). - Change the value for UploadApiUrl to include your server's ip address or FQDN. Replace the letters "fqdn" with the ip or the FQDN.
Ex:http://toems-01.theopenem.com:8080/orhttp://192.168.56.100:8080.
Tip
The UploadApiUrl value is strictly used for uploading files to Theopenem through the UI. Typically when browsing the UI, your browser connects to the Toems-UI application and the Toems-UI connects to the Toems-API, with the exception of uploading files. When uploading a file through the Toems-UI, your browser will connect directly to the Toems-API, skipping the Toems-UI application. If you are having issues uploading files, it is most likely because this value is incorrect.
- Save and close the file
A completed Toems-UI web.config file should look something like this.
10. Update Toems-API Web.config
- In Windows File Explorer, navigate to
C:\Program Files\Theopenem\Toems-API - Right click on Web.config, select Edit With Notepad++
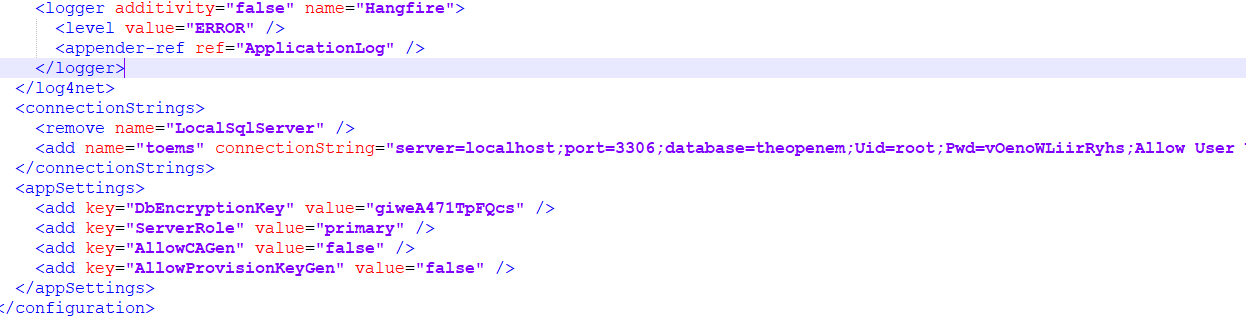
- Scroll to the bottom of the file to find the <appSettings> section
- Change the value for AllowCAGen to false
- Change the value for AllowProvisionKeygen to false
A completed Toems-API web.config file should look something like this.
11. Install Certificates
The certificates are used for identification, encryption, and signing with your endpoints. The CA and intermediate need to be imported into the Windows Certificate Store on each Theopenem server.
- Login to the Toems-UI from the server itself, do not do this remotely, these certificates are being installed on the Application Server itself, not an end user's PC.
- Select Admin Settings from the Navigation Menu
- Select Certificates from the Sub Navigation Menu
- Find the certificate with the Type Authority and click Export
- Save the File when prompted
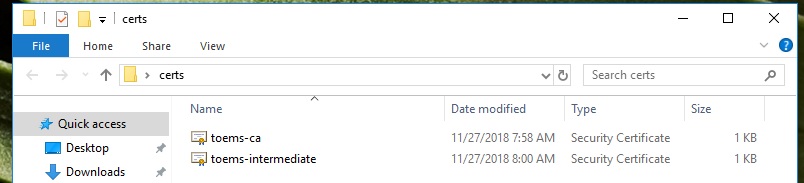
- Locate the file that was just downloaded and rename it to toems-ca
- Find the certificate with the Type Intermediate and click Export
- Save the File when prompted
- Locate the file that was just downloaded and rename it to toems-intermediate
- You should now have the 2 certificates saved on the local server
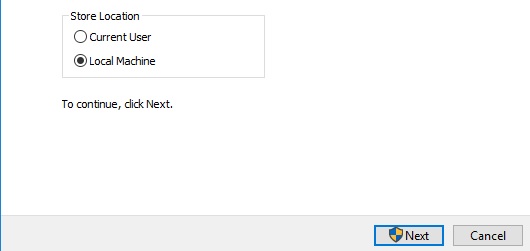
- Double click on the toems-ca file, select Install Certificate
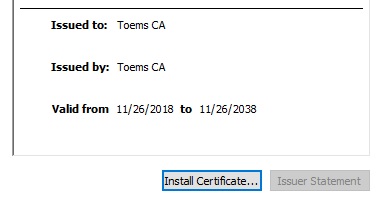
- Select Local Machine, click Next
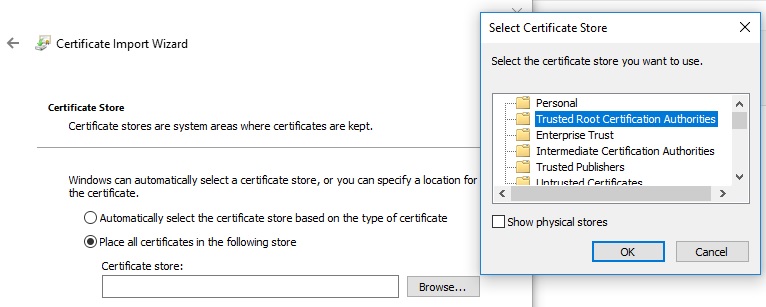
- Select Place all certificates in the following store, click Browse
- Select Trusted Root Certificate Authorities, click OK, then Next, then Finish
- Perform the previous 3 steps on the toems-intermediate certificate,
this time when selecting the location to store the cert, select Intermediate Certification Authorities
